The Ultimate Guide On How To Plan A Styled Shoot
HEY! I just wanted to let you know at the top of this post that I teach about FASHION PHOTOGRAPHY on this website. I used to be a wedding photographer, and then moved over to fashion a few years ago. This blog post is still great though, and I’ve kept it up because styled shoots are basically just fashion shoots but for the wedding industry! I hope it’s helpful, and if you fancy learning more about shooting fashion, stick around, I’d love to help you ;)
Styled shoots are such a huge part of running a wedding business, and funny enough they're something I didn't even know existed a year and a half ago! I come from a fashion photography background, where we regularly put together editorial shoots; these are essentially stories told via photographs. When I began photographing wedding dresses, people also began to approach me asking to put together styled shoots.
But what even is a styled shoot?
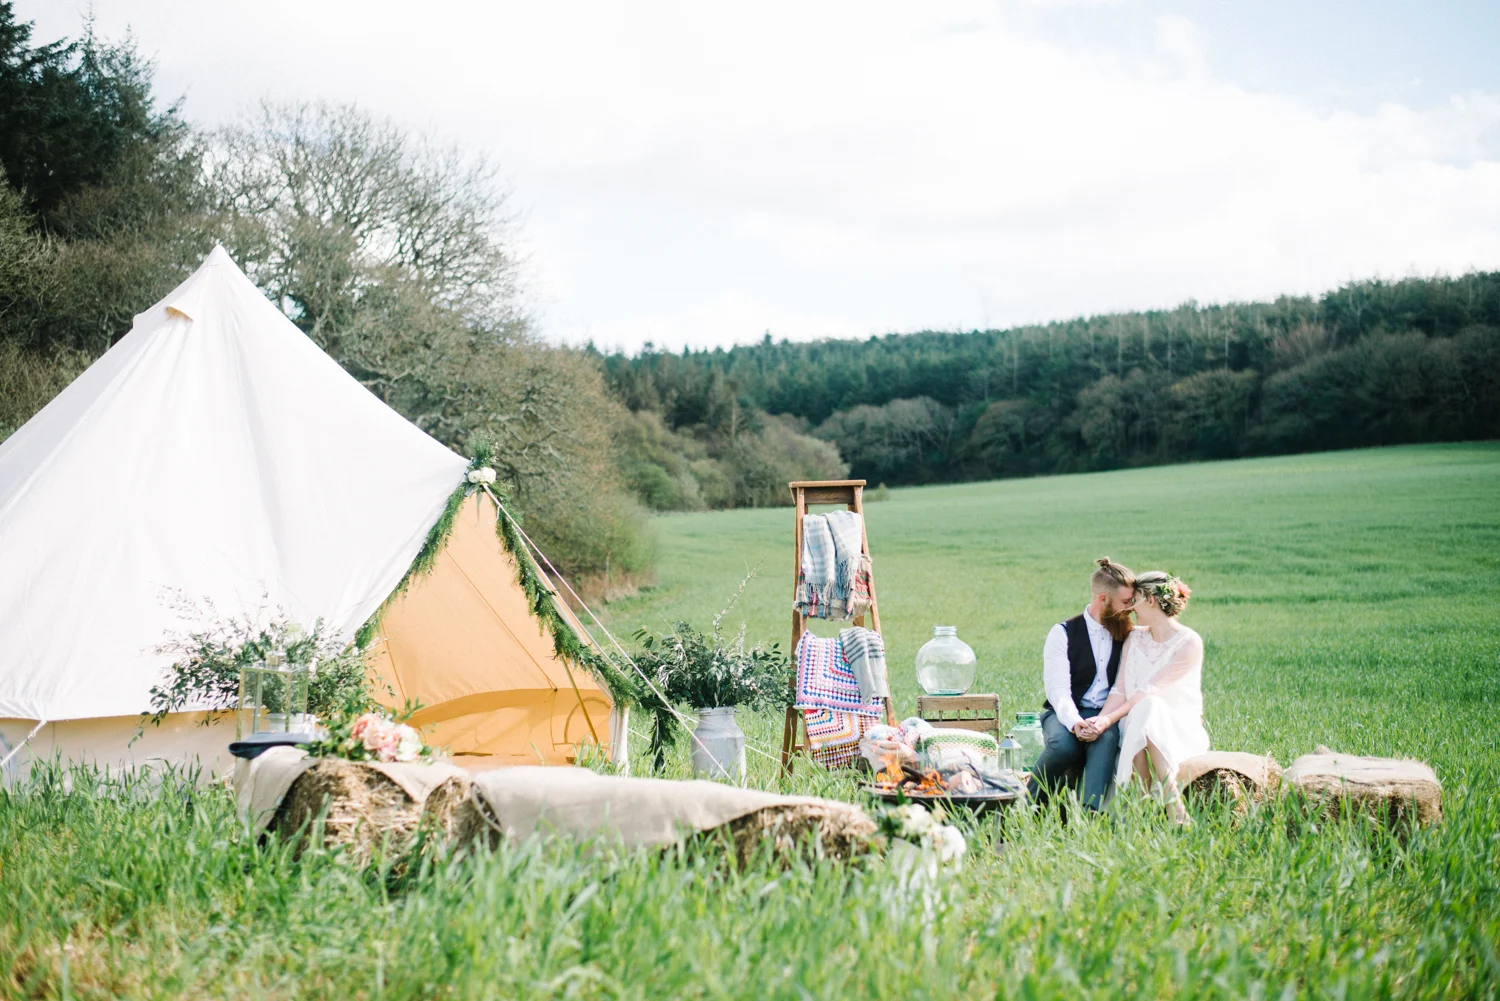
A styled shoot is no different to a fashion editorial, the motive remains the same: to tell a story through photography. However the significant difference here is that a "styled shoot," as the wedding industry has dubbed it, involves a lot more than just fashion. The point of these shoots is to tell a story, but also showcase the skills and services of wedding businesses. Due to the large amount of product involved, they are actually quite a lot more complex to put together than people might think.
In this blog post, I'm going to break down exactly how to put together a successful styled shoot, as well as how to go about getting it published by a blog or magazine.
1. Come Up With Your Concept
The first step of every shoot should be to come up with a concept, or a theme. Are you going to shoot something rustic, modern, bohemian, or classic? Think about what kind of brides and grooms you want to attract, and that will help you decide on your theme.
2. Keep Your Target Market In Mind At All Times
Like I mentioned above, it's important to always shoot with your target market in mind. So if you've been asked to work on a project, but it's extremely far off what kind of work you'd like to attract in future, think twice before saying yes. Read more about figuring out who your target market is in this post.

3. Find Your Team
An obvious step, but perhaps the most important. The key here is to take the time to look through everybody's websites and portfolio's before asking them to be involved. Do you have similar target markets? If not, you probably don't want to work with them. When you find someone who works with similar people, or has a similar aesthetic to you, get in touch with them.
4. How To Ask People To Get Involved
It can obviously feel quite daunting to ask people to get involved with a project; they'll need to spend time, and sometimes money on this project. I recommend writing out a plan of the day, getting as detailed as possible on what you're planning on shooting, include a moodboard, and mention where you'll try to submit. If they say no, don't be disheartened, they might simply not have the time, or feel like you're not the best fit! It's never personal.
5. Put Together A Moodboard
This is where you can have fun on Pinterest! Open up a file in Word or on Photoshop, and drag 15-20 images (or more!) into it which act as inspiration for the shoot. This should include the style of dress, an idea of the colour scheme, an idea of the mood, lighting, location, and theme.
6. Find A Venue/Location
A venue could be considered a team member, but it's important to take the time to think about where you'd like the image to be taken. If you have a venue in mind, think about visiting it to make sure it will fit your theme and your brand. If you're shooting on location, check that the land is public and not privately owned; you don't want to get in trouble!
7. Have a Bad Weather Alternative
Many styled shoots take place outdoors, so it's wise to have a back up plan if the weather is bad. Can you postpone if it rains? Can you go indoors somewhere? Make sure to consider this in the planning stage.

8. Choose Your Models
I argue that models are the most important part of a shoot, because if you've got a weak model, everything else falls apart. You could have the most beautiful venue, gorgeous styling, amazing hair and make up, but if your models aren't comfortable or the right look, your whole shoot is a waste. Consider paying for agency models if your budget allows for it, but if not, spend time finding models who have experience, and will definitely be the right look for your shoot.
9. Put together a time plan
Once you've got the details sorted, I recommend putting together a detailed time plan of the day into a word document. It should include what time key team members needs to arrive, what times they'll be required to work, and what will be happening when. If you're shooting at numerous locations, make note of the times you'll be moving to each place. Remember to always make room for travel time! I recommend also including the names of all the team members on this sheet, just so that everyone knows who will be there.
10. Shoot With The Publication In Mind
This is a big one, because depending on where you'd like to submit your work, you need to shoot with them in mind. For example, Wedding Sparrow require you to submit film photography, and Rock My Wedding like a lot of detail shots. Do your research and go into your shoot thinking about who you're shooting for; you'll increase your chances of getting published ten fold! Another thing to keep in mind is that publications often have long waiting periods before they can publish your work (sometimes three months) so make sure you're submitting work which will work for them seasonally, you may need to shoot a summer styled shoot in Winter! Make sure to research their wait times. Read this post to find out how to get published in blogs and magazines.
11. Put Together A Shot List
It's easy to get carried away on the day, or forget shots because you're rushing. Don't put that much pressure on yourself, and create a shot list ahead of time. It doesn't have to be exact, but knowing what kind of images you want out of the day will help you to tick everything off so that you don't get home and then think "Oh no, I wish I'd shot that!"

12. Shoot!
Seems obvious, but you need to shoot! Whether you're the photographer, or the planner, bring your hard work to life.
13. Editing and Culling
Post shoot, I always recommend taking a day or two away from the images before trying to cull or edit. You'll come back to the images with a fresh eye, feel refreshed, and be far more able to pick out the winning shots. Make an initial selection, then go back through it and cull further. Edit your images to look cohesive, again, keeping the publication in mind. Avoid including too many images which look similar, and try to make the editorial flow. Balance it out with wide images as well as close in detail shots.
14. Submitting To Publications
One of the most crucial parts of the submission process is spending the time to get to know the publications submission guidelines. All blogs and magazines have guidelines on what size and file type they are looking for, how many images to send, how to send them, and how long it will take for them to get back to you. Read them, and make sure you follow their rules. You risk losing out if you don't, even if you're shoot is the best one they've ever seen!
15. Keep Images Off Social Media
It's so tempting once you've shot to want to publish the images all over Instagram, I get it, you've worked hard and you're excited! But many publications will require exclusivity in order to publish your work (which means it can't be seen anywhere online). I recommend submitting your work first, and then once you've been accepted, checking with the blog to see what their rules are about posting to social media.
16. Share, Share, Share!
Once you're images are live on a blog, share them far and wide! Don't be afraid to say that you've been featured on X amazing blog; it will show your expertise to potential bride and grooms if they see you've been featured on a big blog/magazine! Tag all the team members on your Facebook or Instagram posts, and be sure to send them all the images so that they can share them as well. Remember, they will be tagging you as well, and therefore helping to increase your exposure to potential clients.

If you loved the information in this post, and want to keep it close to hand, I've created a free e-book version of it! This way, you can refer back to your booklet every time you plan a Styled Shoot and make sure that you've not forgotten anything. Simply sign up below and receive the book straight to your inbox!
There you go, the ultimate guide to putting together a styled shoot! I know it can seem like a lot of work, but when you break it all down into small steps, it is totally worth it, and easily achievable. I'm happy to answer any questions you may have, so please ask away!


