How To Do A Studio Photoshoot With Natural Light
Everyone always thinks that in order to be a successful studio photographer, you need to have loads of expensive lights. Sure, I highly recommend giving flash a go - it’s important that as a photographer you’ve got an understanding of all aspects of photography (or as much of it as you can - I don’t know everything and would never claim to! But I try to give as much stuff as go as I can).

I spent many years shooting in studio with flash kits, and really liked it. I’ve also tried continuous lighting kits but for some reason I haven’t got on as well with those - it’s probably just practice, and preference!
Towards the end of last year, I decided to try and do a shoot with no external flash at all - only window light. It’s something I hadn’t done much of, but seeing as I have such huge windows in my living room (yay!) and I like to keep set ups as simple as possible (hello, minimal stress), seeing if I could achieve results I was happy with, with just a window… I was intrigued.
Needless to say, I loved it, and the images we did that day remain some of my favourites, ever!
So the next time someone tells you that you can’t shoot in studio unless you’ve got huge flash kits and loads of expensive kit - ignore them. I’m going to prove to you that you can!
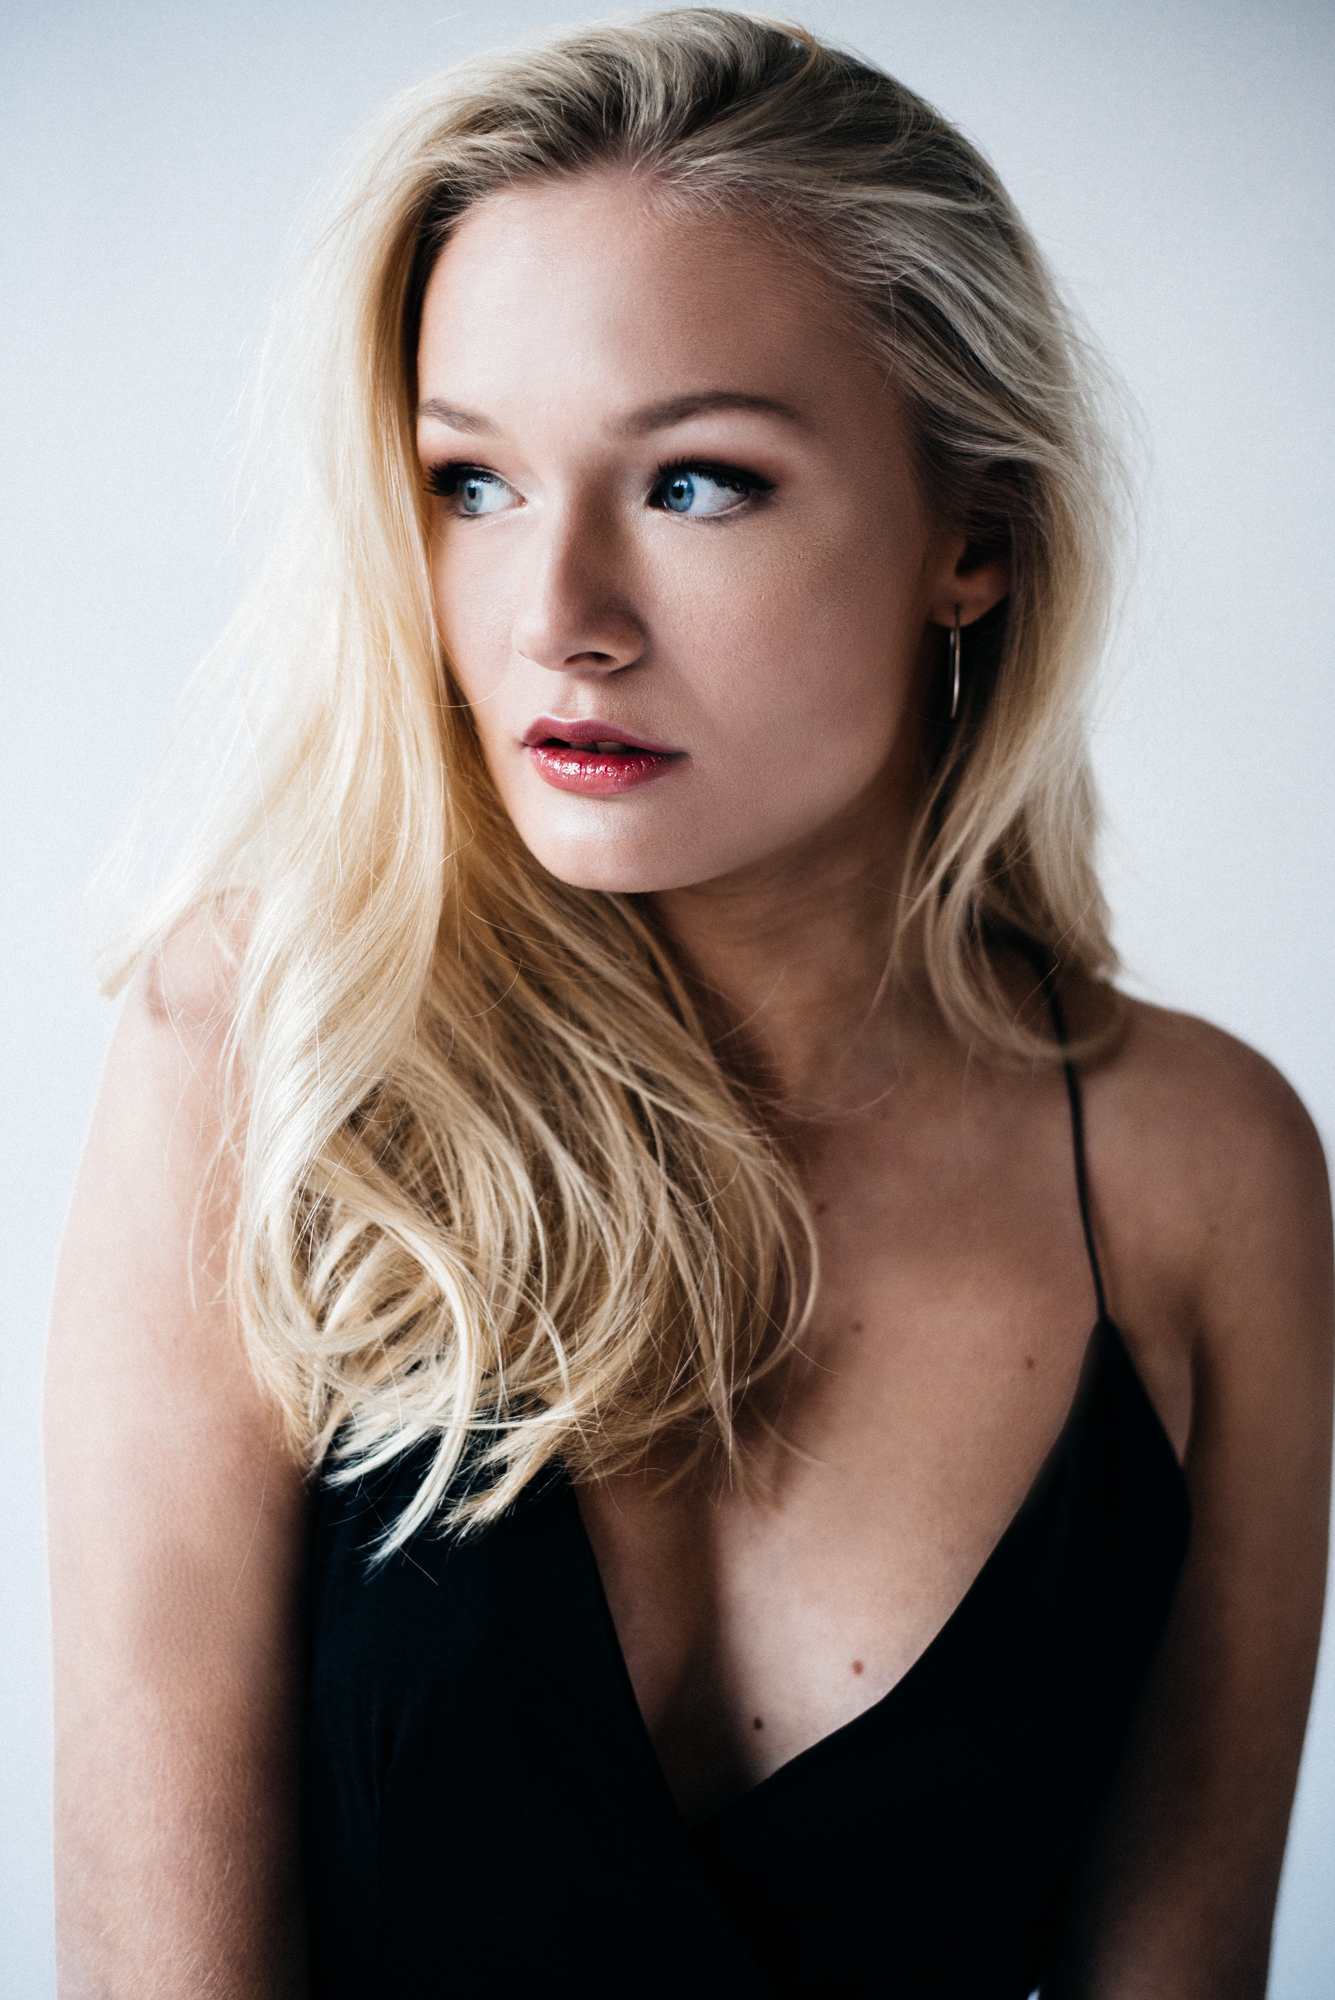
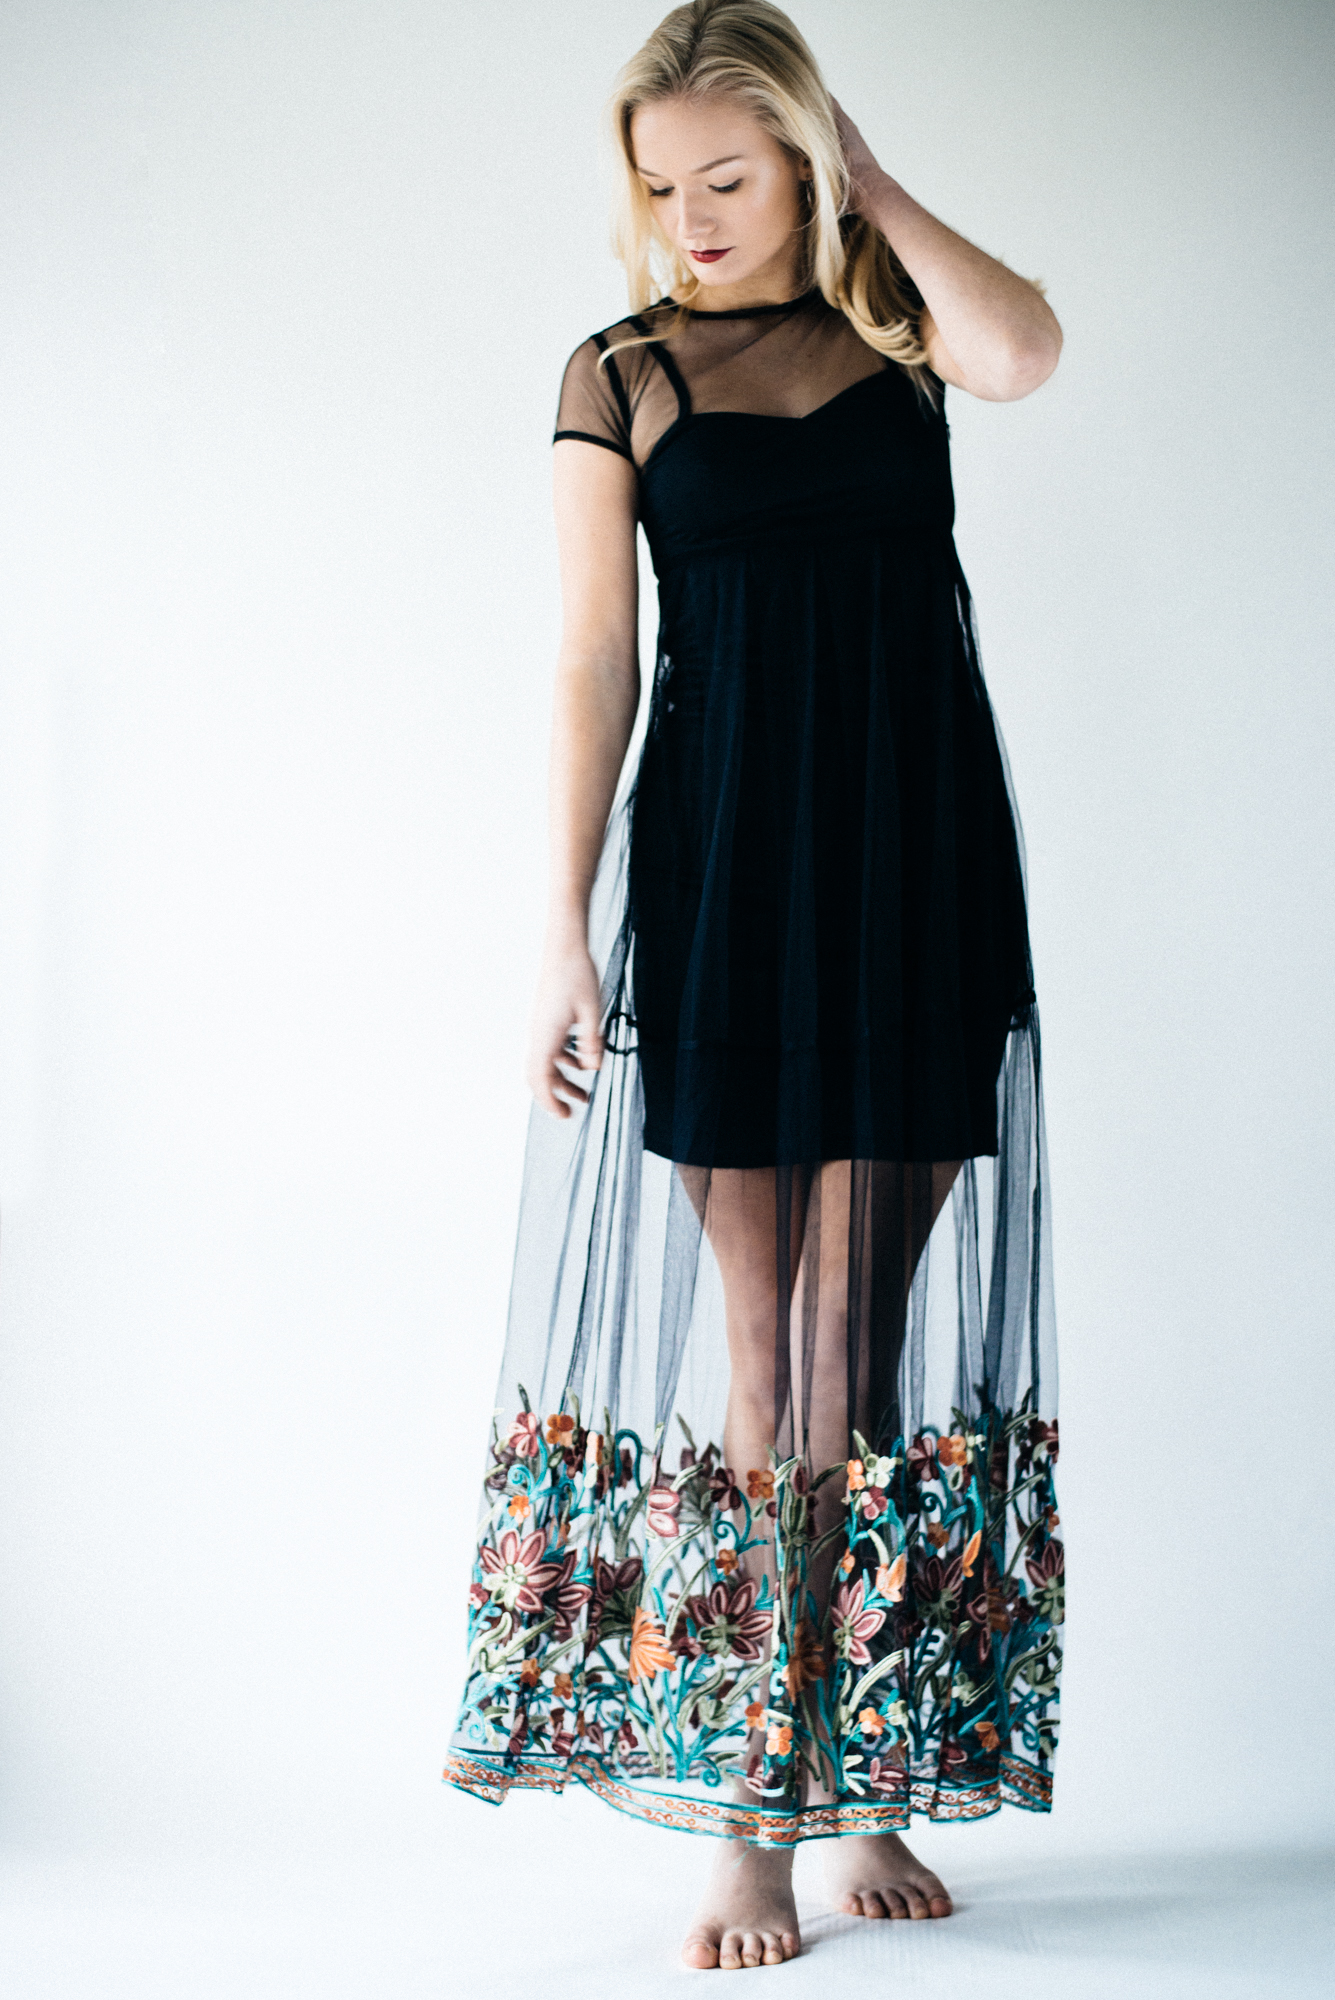
If you love to watch videos, go ahead and watch my vlog from last weeks shoot with Chloe Bromley. I took all of these images with no flash - just a big old window, a backdrop, and a reflector!
However, if you prefer to read, here are a few tips on how to shoot in studio with natural light!
Find a Window:

Seems obvious, but seriously, any window will do! What you don’t want to do is try and shoot with lamps in your house. Now, there’s nothing wrong with tungsten light per say, but only if you don’t mind really warm, orange light. If you’re looking for something more natural, stick to a window.
I’m fortunate in that our living room has very large, floor to ceiling windows; that makes for the perfect natural light studio! However, don’t be put off if you don’t have that - you can achieve just as good results with any large window!
Find a Backdrop…or Don’t!
This depends whether you want that clean, simple “studio” look, or whether you want to shoot with the background of your home in the images. Either works, it just depends on what you’re shooting. In this instance, we were trying to keep all the focus on Chloe, so I put my stands up and hung a large white paper backdrop off of it. This keeps things super bright, and airy - a look I love. You could use any backdrop you like - and don’t be too worried if you don't have backdrop stands like I do. I used to sticky tape sheets up onto my walls near my windows and shoot against those! Don’t be afraid to get creative, move some furniture around, and get your DIY hat on. I promise, no one will know.
Place Your Model In Front or To The Side of the Window:
For these images, I chose to side light Chloe. Because of that, I needed to bounce a bit of light back onto the side of her face that was in shadow. This is subjective (as everything is with photography) because if you like a super contrasty look, you do you. I prefer to keep things a tad less contrasty, so pushing some light back onto her face with a reflector is what worked best for me. What I like about side lighting though, is that the images feel a tad more dramatic and less commercial.
If you don't have a reflector, and you want to keep things super soft, place your backdrop opposite your window, and shoot with your back to the window. You won’t need to bounce any light back onto your subject, because he/she will be totally front lit! I’ve done this plenty of times, and it looks lovely too :) What do I suggest? Play around with both set ups, and see what you like best! It’s good to test things out.
Diffuse The Light:
If you’re fortunate enough to have a really sunny day, sometimes window light can be too bright! An advantage with flash is that you can change the power of the light, and choose how bright you want it to be. It’s harder to change the brightness of the sun…but not impossible! This is where a diffuser comes in! But don’t worry, I’m not telling you to go out and buy one of those super fancy ones on a massive stand - all you need is a big, thin white sheet. Hang it up in front of the window, and hey presto - you’ve got yourself lovely, soft, diffused light!
So there you go - my tips for shooting in studio with nothing but natural light. Sometimes, as photographers, we feel like if we’re not adding loads of kit in, and creating super complicated set ups, we’re not “working hard enough” but I couldn’t disagree more. I love keeping my set ups simple, because it means that I don’t have to worry about anything but the camera, and my model. Understanding how light works is important, and I encourage you to observe it (I’m such a light geek) but don’t be put off if you can’t afford thousands of pounds worth of kit. You can create anything you like! Now, I'll leave you with a few more photos from the shoot. Till next time!
Make Up and Hair : Ione Kutz www.makeupbyione.com
Model: Chloe Bromley


